

By David Square
Part Two of Three
In part one, I showed how to construct the ½-inch plywood box that forms the carcass of my free little library, which I designed to look like a false front old west building.
When the carcass is completed, cover the plywood edges on the front face with ½-inch by 1/8-inch strips of spruce or pine ripped from T&G stock recommended in part one. (Buying ½-inch T&G in a plastic wrapped package is the least expensive way to acquire the wood. If purchased as S4S boards, the cost can be three times the price of the T&G.)
Use waterproof adhesive and a pneumatic brad nailer or hammer and small finishing nails to attach the strip to the plywood, countersinking and filling the holes with wood fill. Bevel the corners for a more finished look.
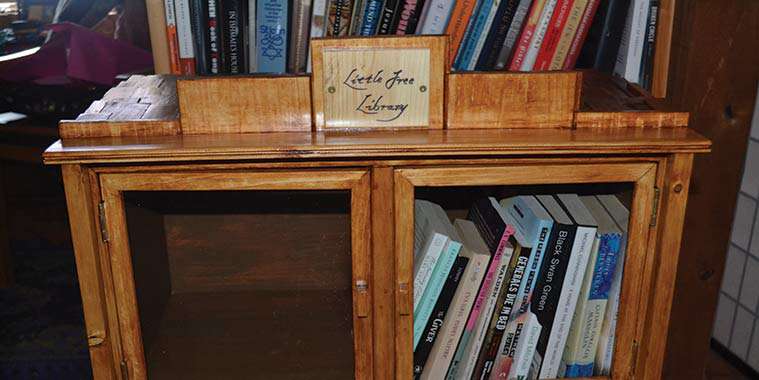
Build two door frames with bevelled corners out of ¾-inch-wide material ripped from the ½-inch-thick T&G. Use a router and ¼-inch bit to cut a 1/8-inch-deep rabbet on one side of the wood. This will allow the 1/8-inch plexiglass to sit flush with the back of each door frame. (I elected to make two doors each 10 3/8-inch by 10 ¾-inch because they looked better than a single, long rectangular one.)
Assemble the frames with suitable adhesive and #4 by ¾-inch countersunk screws, heads filled and sanded smooth.
At the same time, measure and cut two sheets of 1/8-inch plexiglass to fit into the rabbet previously routed into the backside of each frame. Plexiglass or acrylic sheet, can be cut by scoring your kerf line about ten times with a glass cutter and then aligning the score with the edge of a table and snapping downward, similar to glass. You can also cut acrylic on a table saw with a fine tooth blade. In this case, wear appropriate protection like a wood turner’s face guard.
Cut the sheets slightly smaller than actual dimensions to allow for expansion and contraction. (I held the acrylic sheets in place with mirror clips, which can be purchased or made in the shop. If the library is going to be located outdoors, caulk the outside face between the frame and plexi with a recommended weather proof product to prevent rain seepage and book damage.) Acrylic sheet can be bought and cut to size at Speedy Glass outlets.
Purchase brass (or brass plated) butt hinges and mortise them into position on the doors and carcass sides; knobs for the doors can be bought or made in your shop. (I improvised two knobs from small pieces of pine.)
Make a 1 ½-inch square centre post the same height as the interior dimension of your carcass, about 12-inches in my design. Use a 3/8-inch bit to rout a ½-inch deep rabbet the length of both sides of the post to receive the door frames when closed. The outward face of the post should be flush with the 1/8-inch trim covering the plywood face of the carcass. (I added this post to accommodate 1/8-inch round rare earth magnets to act as door catches; it is difficult to find commercial hardware catches small enough to not look ungainly on this mini-library’s delicate doors.
Using a 1/8-inch brad point bit, drill holes 1/8-inch deep on both sides of the post’s rabbets and then epoxy the magnets into the holes. A small square of ferrous metal can be attached to each door to attract the magnets. For more holding strength, add magnets to the door frames so they align with the ones embedded in the rabbets. Before you do this, be certain the opposing magnets have plus polarity on one end and negative on the other; otherwise, they will oppose each other and prevent the doors from closing.
Create a false front by using full width pieces of T&G cross cut into one by 4-inch-long middle section, two by 2 ½-inch lengths, placed either side of the mid-section and two by 1-inch end pieces. Use the T&G grooves to hold the entire section together while you screw the bottom edge to the back of a 24 ½-inch long by 2 ¼-inch width of pine that forms the library’s overhang. Trim an equal length off either end of the false front if it is too long. Screw and glue the false front to the top of the carcass, leaving a 1 ½-inch overhang.
Make the bottom boardwalk by crosscutting a 24 ½-inch length of full width T&G and screwing it to the underside of the carcass, allowing a 2 ¾-inch overhang at the front. Leave the tongue on the board as an attractive detail. Finish the library’s bottom with full width T&G boards, ripping the last one to fit if required.
Part three will run March 1.