
Wondering how to hang a picture perfectly straight? Welcome to the club. There’s something frustrating about hanging art on your home’s walls. You have to buy those special picture-hanging hooks, measure six ways till Sunday, punch a hole or two in a pristine wall, and then, after all that, the frame always seems to end up crooked. And no matter who you are, everyone can agree on one issue: Wall art should be perfectly straight. And it shouldn’t immediately go off-kilter when you barely brush past.
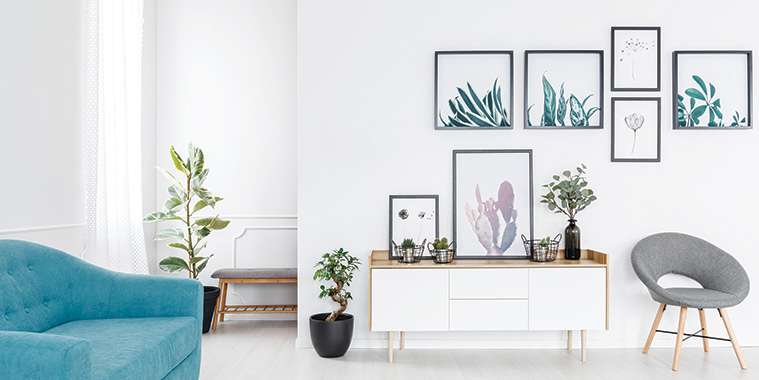
But don’t be cowed by a fear of crookedness — wall art adds visual punch to any home.We’ll clue you in to the secrets of hanging your frames as straight as an arrow — and getting them to stay that way.
How to hang a picture that’s centred
First things first, if you want your art smack dab in the middle of a wall, you’ll need to measure the wall’s height and width to find the centre. From there, figure out how high you want the art to hang — your eye should fall in the middle of the piece — and lightly mark where the centre top of the frame lands on the wall.
Hook it up
When you hang art on one measly hook, it acts like a fulcrum, on which your picture will seesaw every time a door slams. The secret for how to hang a picture without that wobble? Double down on hooks, and your art will be less likely to slip and slide! Make sure you have the right type, too.
Wall fasteners are available in both lightweight and heavyweight options to prevent the need for drywall repair in the future. If you think your frame may be too heavy for the wall, use a stud finder to locate a supporting beam.
To figure out where to make your holes, first look at the back of the frame and pull the wire straight up at two points about 8 inches apart.
Measure the distance between the top of the wire at each point to the top of the frame. Then measure and mark two spots on the wall that are the same distance below top of the frame and exactly 8 inches apart. Hammer the hooks into the wall so the bottom is directly on top of your marks.
All about that tape
If you have a picture with two hooks on the back as opposed to a wire, place a piece of painter’s tape on the back of the frame right under the hooks and mark a dot on the tape where the nails need to go. Then place the tape on the wall where you’d like to hang your photo. Use a level to ensure the tape is straight and hammer the nails in where the dots are marked. Remove the tape, and you’re good to go.
Picture hanging hacks
Hanging a picture can be a two-person job — one to adjust the picture, while the other person takes forever to decide whether the angle is right. But if you prefer to work on your collection solo, check out the Hang and Level ($15). This nifty tool helps you position art with a built-in hook that allows you to mark the wall when you find your perfect placement.
You can also make a DIY approximation by driving a nail through the bottom of a paint stir stick. Simply hang your art on the nail, get it in position on the wall and tap the nail to mark the spot.
Get help
Keep your pictures straight by installing self-adhesive cabinet plastic bumpers on the bottom inner corners of your frame. These will prevent slipping and general crookedness by creating traction between the frame and the wall. A-types out there can go with Velcro, though it may damage walls when removed, and those with a sense of humour can even use Silly Putty.
How to hang a picture that’s level
Use an actual level to get your frames perfect, or go to your smartphone’s app store and download one of the countless level apps. Stick either version on top of the frame until the bubble is perfectly centered, and voilà, you have a straight picture! Push your frame with bumpers, Velcro, or Silly Putty against the wall to keep it that way.
— realtor.com