

by Bill and Kevin Burnett
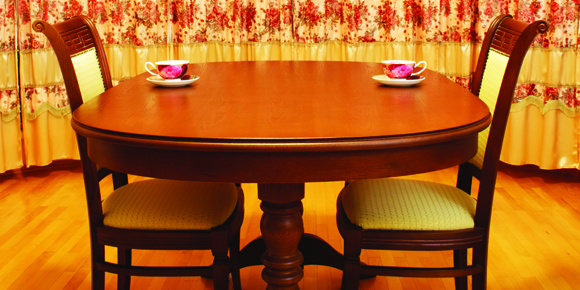
Question: We picked up a nice old oak table at an estate sale recently. Could you point us in a direction where we could find information on possibly sanding and/or varnishing the top or should this be left to professionals?
Answer: Unless you think you have a candidate for the Antiques Road Show, this is a perfect job for the do-it-yourselfer. If it is an antique, we suggest you leave it alone until you can find out what you have.
When our mother was newly retired in the mid-1970s, she decided to refinish an old dresser she had. It was a grungy old thing. She spent weeks on that project and it turned out great. Today, it’s a family heirloom. It’s with her today in her assisted-living home. If we do say so ourselves, it’s one of the best-looking pieces of furniture in the joint.
You don’t need to hire a pro. Refinish the piece yourself. The first step is to remove the old finish or what is left of it.
Paint and varnish remover are the key. There are a bunch of brands on the market and they all do the same thing, which is to soften the old finish so you can scrape it off. Traditional removers contain methylene chloride, a harsh chemical with a noxious odour. They also contain paraffin to retard drying.
When the stripping is done, the piece must be wiped down with solvent to remove the paraffin residue.
More modern strippers rinse off with water. We're a little leery of these because water-based removers can raise the grain of the wood. Wood and water don’t mix very well.
To strip the old finish, start from the top of the table and work to the bottom. Apply a generous coat of semi-paste paint remover, brushing it on in one direction only. Semi-paste remover is like a gel and will adhere to vertical surfaces. Let it sit for a while until the finish is crinkled. Remove it with soft tools such as a plastic scraper or steel wool.
When all the finish is off, wipe the table with mineral spirits to remove any stripper residue. Finally, let the piece dry for 24 to 48 hours after stripping before sanding and finishing.
Safety precautions must be taken when using chemical strippers. Work in a well-ventilated area. Protect finished floors with drop cloths. Wear a respirator, eye protection, a long-sleeve shirt and rubber gloves.
Once the table is stripped, start the finishing process by sanding the wood. Depending on how good a job you were able to do with the stripper, you may not have a lot of sanding to do. Start with 120-grit paper to clean off any finish that may remain and to smooth out any bad places in the wood. Then smooth the whole piece down with 220-grit paper.
Sand with the grain. The quality of your final finish depends on the care you take when sanding. No amount of stain or varnish will correct a bad sanding job. Take the time to do a good job. It makes a big difference.
Because oak is an open-grained wood, consider using a filler to smooth the surface. Grain filler comes as a pigmented paste in a range of colours. If you want to emphasize the grain of the wood, select a colour that contrasts with the natural colour of the wood or the colour you intend to stain it. If you want to de-emphasize the wood grain, select a colour that closely matches the anticipated finish colour of the wood.
Use a rag or stiff paint brush to apply the paste filler. Work it into the grain and let it dry as instructed on the product packaging. Then, remove the excess filler with a plastic scraper. Hold the scraper at a slight angle to the wood surface. Be careful not to damage the wood. Lightly sand with the grain.
For some kinds of wood and types of finish, the next step is to apply a sanding sealer. Think of it as a coat of primer. The sealer reduces the tendency of some woods to absorb stain unevenly. This is a step you can skip. Because oak takes stain uniformly, sanding sealer is unnecessary. If the table were pine or mahogany, failure to use sanding sealer would leave a blotchy finish.
If you choose to stain the table we suggest you choose an oil-based stain. Water-based stains can raise the grain. Oil stains come in liquid and gel forms. Apply liquid stains with a rag or brush and allow penetration into the wood. The longer the stain is allowed to penetrate, the darker the colour will be. The excess stain is then wiped off with a clean rag and the piece is allowed to dry. If a darker finish is desired, these steps are repeated.
Gel finishes are applied with a rag, rubbed on and wiped off as necessary to achieve the desired colour and tone.
The furniture piece should be buffed with a dry clean rag after the stain has been allowed to dry for the recommended time.
The choice of top coating is a matter of personal preference. We prefer penetrating oils, such as Danish finishing oil or tung oil. Penetrating oil finishes are easy to apply and look great with a soft, natural appearance.
Polyurethane creates a hard durable finish and is available in a range of sheens. Other finishes you may choose are varnish or lacquer. Both of these are more difficult to apply. Whatever finish you choose, make sure to follow the manufacturer’s instructions on the label of the can.
— Inman News.