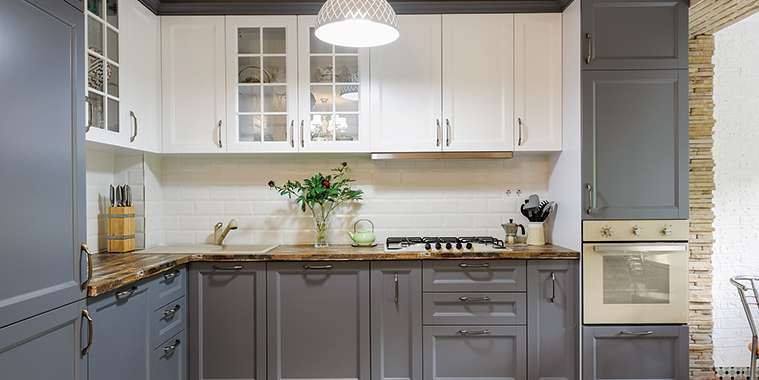
Now that you’re spending more time at home cooking, you’ve possibly noticed that your kitchen is looking just a little tired and drab.
Don’t start tearing your old kitchen apart to make way for expensive new cabinets. Updating your existing kitchen cabinets for under $100 is easy, and makes a huge impact on the space you spend so much time in.
Here are five ways to do that without breaking the bank:
1. Change out your hardware
Knobs and pulls are kitchen jewelry that can upgrade kitchen cabinets. Note that cabinet hardware can get very fancy and expensive -- costing $30 and up for a single ornate knob. But you’ll get a huge bang for a few bucks by buying 10-packs of simple, contemporary hardware at big box stores for less than $20 (that’s $2 a knob!).
To save time and money, replace 1-hole hardware with 1-hole upgrades; 2-hole with 2-hole. That way, you won’t need to drill or patch.
2. DIY Paint
Nothing works better for updating kitchen cabinets on a budget as quickly as fresh coat of paint.
Painting cabinets yourself is cost-effective — a few gallons of paint, sandpaper, cleaner — but the process is time-intensive. You can paint most cabinet surfaces, but proper prep is key to success. For laminate and melamine finishes, be sure to rough up the surface with 150-grit sandpaper, and apply a good bonding primer before topping it off with the color of your choice.
Follow these tips for a flawless finish:
• Lighter-colored paints will make your kitchen seem bigger.
• Don’t skip on prep. Thoroughly clean cabinet doors and boxes to remove grease and dried-on gunk; fill holes or nicks with wood putty, then sand.
• Sand each coat of paint so your final coat will look perfect.
• Lay doors flat to paint, and wait until each side is completely dry before painting the other side. It will take more time, but you’ll avoid ugly drip marks.
3. Add Molding to Make Cabinets Seem Custom
Crown molding adds a touch of class to the tops of tired cabinets for less than you’d expect. Three-inch, primed composite crown molding with a dentil design costs as little as $20 for 8 feet.
It’s easiest to add molding when you’re repainting cabinets; that way you’ll get a perfect match.
If you order matching wood molding from your cabinet’s manufacturer, be prepared for a color difference between new molding and older cabinets. Natural wood cabinets (especially cherry) will darken with age.
4. Change the cabinet insets to glass
Change the glass insert in a cabinet door, and you change the look and feel of your kitchen.
“Decorative glass takes stock cabinets and gives them a custom look,” says Anthony Longo, who sells glass panels.
Not all cabinet doors are candidates for a changeover, however. You’ll need the kind of door with a removable panel. Check the backs of your doors to see if the center panel can be taken out. If you can’t remove a panel, you can always spend a bit more and buy a few ready-made doors to replace your old ones with.
Types of glass inserts are limitless -- contemporary, bubbles, raindrops on water, antique -- and cost $7 to $9 per square foot. So, you can change the look of a 2-door, 30-inch-by-24-inch cabinet (about 5 square feet of glass) for between $35 and $45.
5. Add Task Lighting
Once, the only way to shed light on kitchen tasks was by hard-wiring under-cabinet lights — an expensive and messy task. But you can add lighting under and inside cabinets with battery powered, peel-and-stick LED lights.
Of course, battery-run lights are not as bright as their hard-wired cousins. But at about $8 each, you can afford to buy several and scatter them around. LED light bulbs last for thousands of hours of use.
Now you have a brand new space in which to create all your latest culinary delights! How easy was that?
— Houselogic.com


