

If you have a passion for building, and you want to take on a unique project, we’ve got just the thing for you: a DIY live edge table. Live edge furniture is a great way to add beauty to your home and create a unique talking piece for future entertaining.
What’s a live edge table?
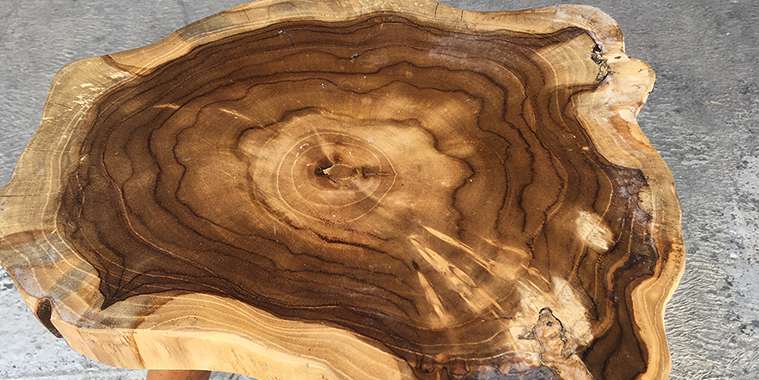
Remember that beautiful table at your family cottage? The one they seemingly stole from a fairy tale? Yup, that’s a live edge. These tables incorporate the natural edge of a piece of wood directly into their design. They’re rustic, raw, modern and chic, not to mention sophisticated and built to last.
A traditional live edge table will have tree bark on its sides; however, some people choose to remove it to avoid the bark possibly becoming brittle and breaking over time.
In recent years, live edge tables have grown in popularity among furniture and design enthusiasts everywhere. Here’s what you need to know to build one.
How can I build my own?
For such a beautiful piece of furniture, a live edge table is relatively straightforward to make. It can be a one-day project if you have the right materials. Unlike most live edge tables, the process outlined here doesn’t require you to break out your welding gear.
To get started, browse crafty websites like Pinterest or Etsy to find inspiration. It’s also important to designate an area of your home as your workspace; we recommend a garage or backyard.
Start with a wood slab you think will work in your desired location, proper tools on hand, and your creative spirit ready to go! Keep in mind it can be dangerous to operate power tools without the right safety equipment and know-how — so be cautious. If you don’t have the required tools, you can likely rent them at your local hardware store.
How to source the right wood
Depending on the size of table you want, and the type of wood, slabs can range from a few hundred dollars to more than $1,000. For the cost-conscious builder, a softwood like cedar or pine is recommended as it’s often less expensive and easier to work with; however, most species of wood will produce a beautiful finished product. Don’t worry, you don’t need to cut down a tree yourself; there are plenty of lumber yards or woodworking vendors who can sell you the perfect slab. We’ve even seen them for sale at hardware stores.
Materials and tools needed
Now that you have the perfect slab of wood for your project, you’re ready to get started.
Materials:
• A slab of live edge wood (three inches thick is optimal)
• A hammer (optional to remove bark)
• Two 2x4s and a sawhorse (or any tool to safely elevate your slab)
• An angle grinder, a sharpening disc, and a flat carving disk
• Sandpaper and an orbital sander
• A tape measure, pencil and drill
• Lag screws and metal table legs (you’ll need to measure and order custom sizes)
• Lint-free rags and a tack cloth
• Wood finish
Instructions:
1. If you don’t want your table to have the tree’s natural bark along its edges, elevate your wood slab to protect it and use a hammer claw to remove the bark.
2. Secure your slab on top of your sawhorses. Using your angle grinder and carving disk, shape it to your liking, following its grain and natural curves for the best results.
With your slab in its desired shape, use your
orbital sander to buff out any aggressive marks. Start with a low grit and slowly increase.
4. Place your table face down on your 2x4s, position the legs, and mark drill holes. Drill your pilot holes and attach the legs using heavy-duty lag screws.
5. By now, you’re probably boasting your woodworking skills to everyone who will listen; this table already looks good enough to eat off! But it’s not done yet; you need to protect it with a finish.
Wipe down the surface with a lint-free rag, then with a tack cloth. Evenly apply your finish, letting it soak as per the manufacturer’s recommendation, then a smaller coat for any dry spots and wait again. Finally, buff out any excess finish with a clean, lint-free rag.
Now that you’ve completed your table, it’s time for the hardest part: deciding where to put it. Most likely, it will be the crowning jewel of your dining room, but just be careful — once you have one piece of live edge furniture in your home, you’ll probably want to add even more! There are plenty of live edge projects you can take on, such as shelves, desks, bedside tables, a striking coffee table for your living room, or even a fancy cutting board! They all carry the same elegant and natural look of a live edge table, and are sure to make a charming addition to any room in your home!
As with any DIY or home improvement project, safety is always the most important factor. If you’re unsure about building a live edge table on your own, or you don’t have the proper tools or safety equipment to complete the project, be sure to contact a professional woodworker who can help you plan, design and build your dream live edge table.
— Realtor.ca