

It could be the social isolation, but tie-dying is making a comeback.
Maybe it’s the nostalgia of recalling the carefree days of childhood, or just sheer boredom, but it’s definitely a craft that everyone should try at least once in their lifetime.
If you think tie-dye originated in the 1960s, think again. While it did rise in popularity during the hippie era, it has actually been a part of American culture since the 1920s and through the Depression as an easy way to repurpose older clothing and pinch some pennies. But its history is much longer than that.
Tie-dying can be found in many cultures around the world — in India, Japan, China, Indonesia, and Nigeria, to name just a few, resulting in regionally specific styles.
Some of the earliest examples of tie-dying come from Peru, although the earliest written records about tie-dye come from China and Japan.
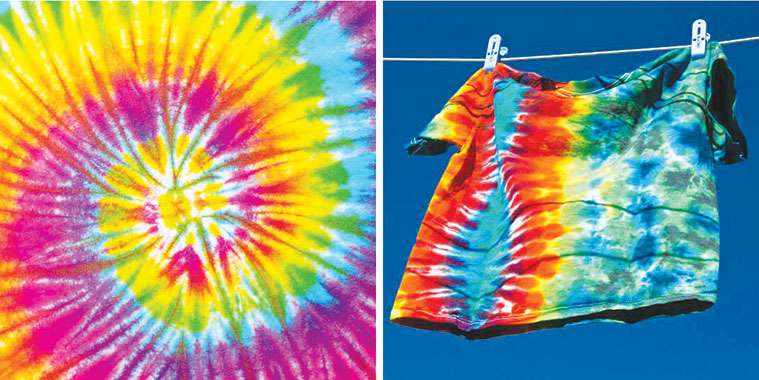
Tie-dying is exactly what it sounds like. You twist up a T-shirt or other cloth item, such as a pillow cover, tie it in different places with rubber bands, and then dye it. When finished, you’re left with a cool coloured pattern, from a classic and simple swirl pattern to more intricate designs, from multi-coloured to ombré. It’s a quick and easy way to express your creativity.
Tie-dying doesn’t have to cost a lot, either. Pretty much everyone has an old T-shirt lying around the house.
Tie-dye shirts make great team T-shirts, and they also make for a great activity for kids. Consider lining up a fun tie-dye project for your next party. Even better, the final product doubles as an instant party favour. It’s super-easy to do and lots of fun!
Are you thoroughly intrigued? Here’s a simple project to try:
Tie-dye T-shirt
Tie-dye materials:
• White, 100% cotton T-shirt (or other cotton item)
• A tie-dye ink kit (which includes tie-dye instructions) or several colors of fabric dye
And these items, if not using a tie-dye kit:
• Squirt bottles
• Rubber bands
• Rubber gloves
• Gallon-sized zip plastic bags
• Water (to add to the ink bottles)
• A spray bottle of water (helpful to dampen shirts before applying ink)
• Paper towels or rags for spills
Instructions:
1. Get set up — If you’ve purchased a new T-shirt, machine wash and dry it first, but don’t use fabric softener or a dryer sheet to avoid leaving any kind of residue on the fabric that might repel the ink. Cover your work space with a plastic tablecloth (or set this up outside).
2. Prepare your ink — If you bought a kit, set up the inks in the bottles according to the tie-dye instructions. If you bought powered or liquid dye, prepare it according to package instructions and put the ink into the squirt bottles.
3. Prepare your shirt — First, spray the shirt with water to dampen it. You can free-style your pattern, by tying randomly, or use a pattern. These are the instructions for a classic swirl pattern: Pull the shirt from the center stomach area and twist/swirl in one direction so the entire shirt forms a flattened disc shape that looks like a rose.
Next, wrap the disc with three to six rubber bands in a crisscross overlap pattern which will give you six wedges or quadrants of fabric.
4. Ink the shirt — You can use a different colour for each wedge, or stick to a range of hues (like blue) for an ombré affect. Put on your rubber gloves and squirt the dye onto the wedges formed by the bands. Make sure to do the back of the shirt, too, so you have a uniform look. Once you’ve finished dying, place each shirt in a sealed plastic bag for 24 hours to allow the ink to set and the colors to become vibrant.
5. Rinse — After 24 hours, put on a pair of rubber gloves, remove the shirt from the bag and rinse it in cold water (without removing the rubber bands) until the water runs clear of the dye. Then remove the rubber bands, rinse again, then machine wash and dry the shirts on the hottest setting allowed on the shirt tag. Do not combine the shirts with any other clothing for that initial wash and dry in case any extra dye bleeds.
When your project is dry, you are ready to wear and show off your classic T-shirt for many years to come!